Pool resurfacing is a significant step in maintaining and enhancing the longevity of your swimming pool. However, once the resurfacing is complete, it’s crucial to follow proper cleaning procedures to ensure your pool remains in pristine condition. In this blog post, we’ll explore essential tips for cleaning after pool resurfacing, providing you with the knowledge you need to keep your pool looking great and functioning optimally.
Understanding Pool Resurfacing
Before diving into the cleaning tips, let’s briefly understand what pool resurfacing entails. Pool resurfacing involves applying a new finish to the interior surface of your pool. This process can restore the pool’s appearance, improve its durability, and enhance overall functionality. Common resurfacing materials include quartz, pebble, and glass beads, each offering unique benefits in terms of aesthetics and durability.
Types of Pool Surfaces
- Quartz Surface:
- A blend of quartz aggregate and polymer-modified cement.
- Provides a durable and aesthetically pleasing finish.
- Resistant to stains and chemicals.
- Pebble Surface:
- Composed of hand-selected durable pebbles and aggregates.
- Offers a textured finish for improved traction.
- Extremely strong and long-lasting.
- Glass Bead Surface:
- Combines standard pool finish materials with rounded glass beads.
- Creates a striking mosaic look.
- Durable and visually appealing.
Immediate Cleaning After Pool Resurfacing
First Steps
- Allow Curing Time:
- After resurfacing, let the new surface cure for at least 24-48 hours before filling the pool with water. This time allows the surface to set and harden properly.
- Clean the Pool Deck:
- Sweep and clean the pool deck to prevent dirt and debris from entering the pool once it is filled.
- Inspect the Pool:
- Check for any visible debris or contaminants on the new surface. Remove them carefully to avoid scratching or damaging the surface.
Initial Water Fill and Cleaning
- Filling the Pool:
- Slowly fill the pool with water to avoid disturbing the new surface. Use a soft, non-abrasive hose to prevent any potential damage.
- Balancing Water Chemistry:
- Test and adjust the water’s pH, alkalinity, and calcium hardness to recommended levels. This step is crucial to protect the new surface and ensure water clarity.
- Initial Cleaning:
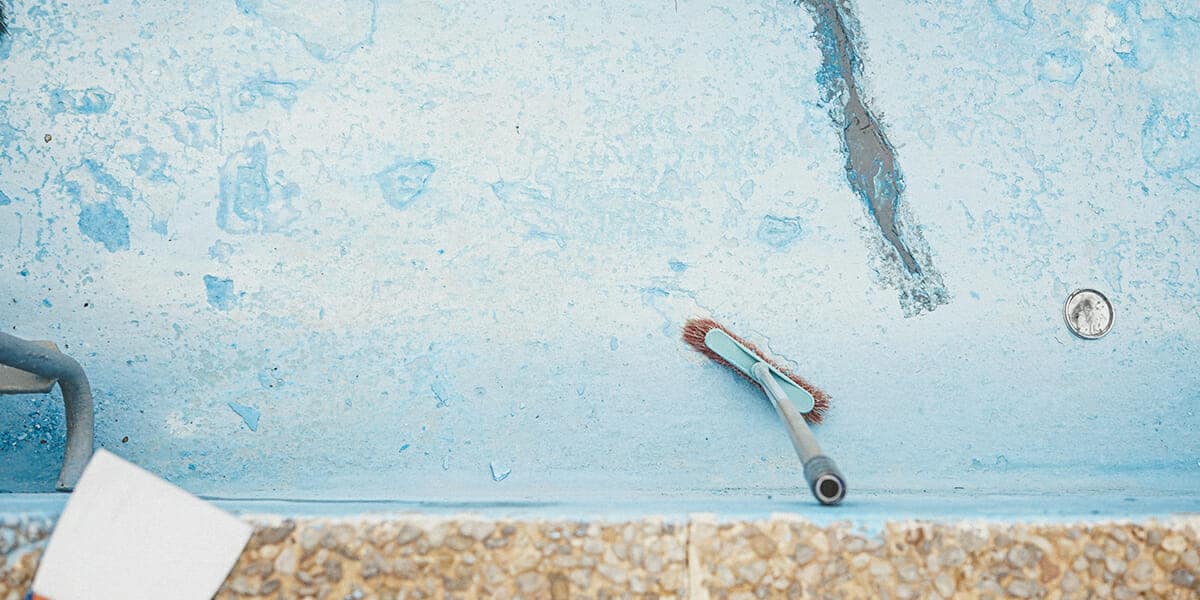
- Gently brush the entire surface of the pool with a soft-bristle brush. This helps remove any plaster dust or loose particles without damaging the surface.
Chemical Treatment
- Shock Treatment:
- Perform an initial shock treatment to eliminate any bacteria or algae that may have entered the pool during the filling process.
- Regular Chlorination:
- Maintain proper chlorine levels to keep the pool water sanitized. Use a floating chlorinator or an automatic chlorinator for consistent chlorine distribution.
Daily Maintenance
- Skimming and Brushing:
- Skim the surface of the pool daily to remove leaves, insects, and other debris. Brush the walls and floor of the pool regularly to prevent algae growth and maintain a smooth surface.
- Vacuuming:
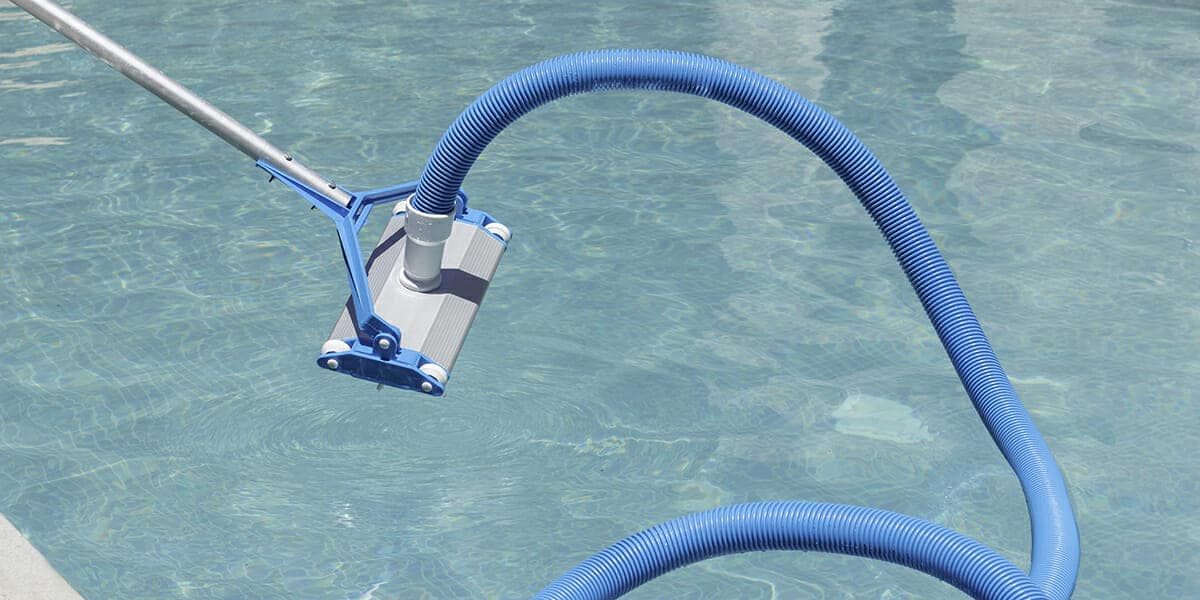
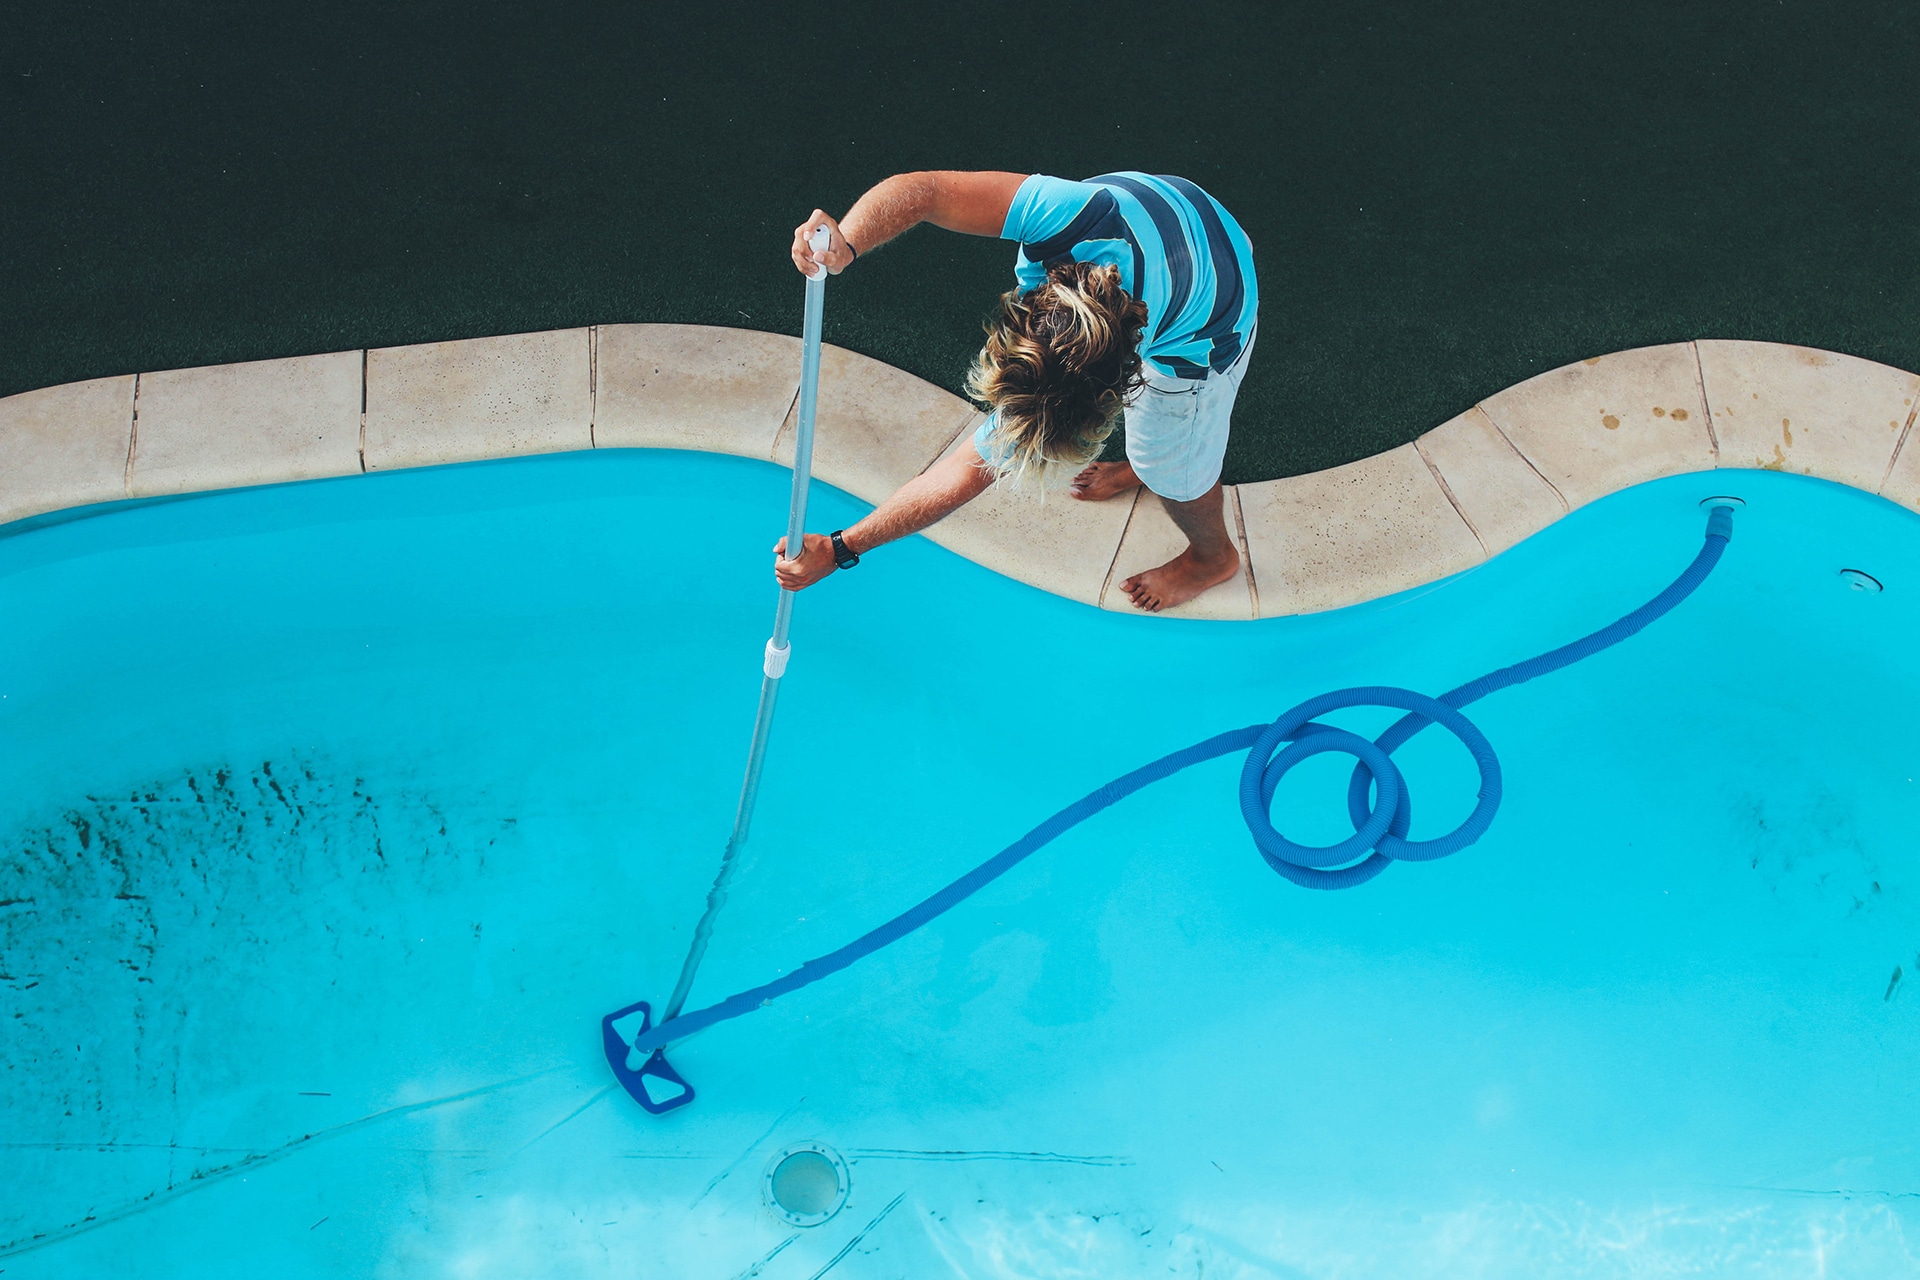
- Use a pool vacuum to clean the bottom of the pool. Choose a vacuum designed for delicate surfaces to avoid scratching or damaging the new finish.
- Filter Maintenance:
- Clean the pool filter regularly to ensure efficient water circulation and filtration. Backwash or replace the filter media as needed.
Long-Term Cleaning and Maintenance
Weekly Maintenance
- Water Testing:
- Test the pool water weekly to monitor pH, alkalinity, calcium hardness, and chlorine levels. Adjust the chemical balance as necessary to maintain optimal water quality.
- Shock Treatment:
- Perform a shock treatment every week to keep the water clear and free from contaminants. Follow the manufacturer’s instructions for proper dosage and application.
Monthly Maintenance
- Deep Cleaning:
- Conduct a thorough cleaning of the pool, including scrubbing the tiles and waterline. Use a pool-safe cleaning solution to remove any buildup or stains.
- Equipment Inspection:
- Check the pool equipment, such as the pump, filter, and heater, for any signs of wear or damage. Replace or repair any faulty components to ensure efficient operation.
Seasonal Maintenance
- Winterizing the Pool:
- If you live in a region with cold winters, winterize your pool by lowering the water level, adding winterizing chemicals, and covering the pool with a durable cover.
- Spring Opening:
- When reopening the pool in the spring, perform a thorough inspection, clean the pool, and balance the water chemistry before resuming regular use.
Frequently Asked Questions
Q: How often should I brush my pool after resurfacing?
A: It is recommended to brush your pool daily for the first week after resurfacing, then at least twice a week for the following month.
Q: Can I use a regular pool vacuum on a newly resurfaced pool?
A: It is best to use a vacuum specifically designed for delicate surfaces to avoid scratching or damaging the new finish.
Q: What should I do if I notice discoloration on the new pool surface?
A: If you notice discoloration, check the water chemistry and adjust the pH, alkalinity, and calcium hardness levels. Persistent issues may require professional assessment.
Q: How long should I wait before using the pool after resurfacing?
A: Allow the new surface to cure for at least 24-48 hours before filling the pool with water. Wait an additional 24-48 hours after filling before using the pool.
Q: How can I prevent algae growth on the new surface?
A: Maintain proper chlorine levels, brush the pool regularly, and perform weekly shock treatments to prevent algae growth and keep the water clear.
Conclusion
Cleaning after pool resurfacing is essential to maintaining the beauty and functionality of your pool. By following these comprehensive tips and maintaining a regular cleaning and maintenance schedule, you can ensure that your newly resurfaced pool remains a stunning and enjoyable feature of your backyard for years to come. Remember, proper care and attention to detail are key to preserving the integrity of your pool’s new surface and maximizing your investment.
